Week 27 : 2/20/2023 - 2/27/2023
- Ian Matheson

- Feb 27, 2023
- 2 min read
Nozzle Design & 3D Printing
Ian's objective for this week was to design the nozzles for the intake fans. First, Ian took detailed measurements of the fan outlet using a set of calipers.

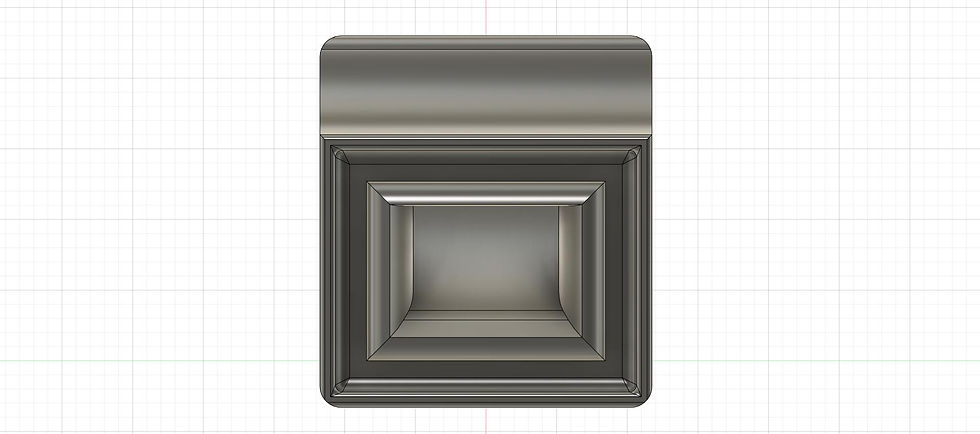
Once the dimensions were measured, Ian began sketching the nozzle in Autodesk Fusion 360, which is free for students at Valencia College. The software is very powerful yet easy to use. In line with the ideas that Daniel had for the nozzle, Ian made 5 iterations. The fifth iteration is shown below. The air path becomes narrowed as air travels through the nozzle, forcing the stream to become more concentrated. On the bottom, there is an inner lip and an outer lip. The inner lip fits into the fan outlet, while the outer lip fits over the fan outlet and creates a channel for epoxy.


Once the model was finished, Ian consulted his friend Duncan Kurtz for advice on 3D printing. Duncan owns a 3D printer and offered to print a prototype. Ian exported an STL file from Fusion 360 and sent it to Duncan.
Duncan's first attempt used the default support structures auto-generated by Cura Slicer. This resulted in failure since the supports extended into the nozzle and were impossible to remove.

For his next attempt, Duncan used tree supports instead of default supports. Tree supports are a lighter form of support, and they are easier to remove from the object. This resulted in the image below, where supports were printed in the epoxy channel and proved difficult to remove.

For Duncan's final adjustment, he rotated the model and placed a support blocker over the nozzle's inlet, intuiting that the inlet would be strong enough without support. Tree supports would be printed only at the nozzle's outlet.


These tactics resulted in an excellent print, shown below.


The nozzles fit very well on the fans, but they had a few issues. The walls of the inlet were quite thick, and that restricted the airflow considerably. The nozzles also got dangerously close to touching the window when placed on the car.

In an attempt to resolve these issues, Ian shortened the length of the nozzle by a millimeter and made the inlet and outlet walls thinner. Now the inner lip would be only a millimeter thick. This design is shown below.


Ian employed Duncan to print the new revision, shown below. This version had far better airflow without compromising structural integrity. It was decided that these nozzles would be suitable for our project. Once again, Duncan offered his printing services to print all 16 intake nozzles. Since they are so small, they are being done in batches of 8.


Some Fixes
During group testing, the wiring for one of the fans broke off. Ian soldered the wires back to the fan board.

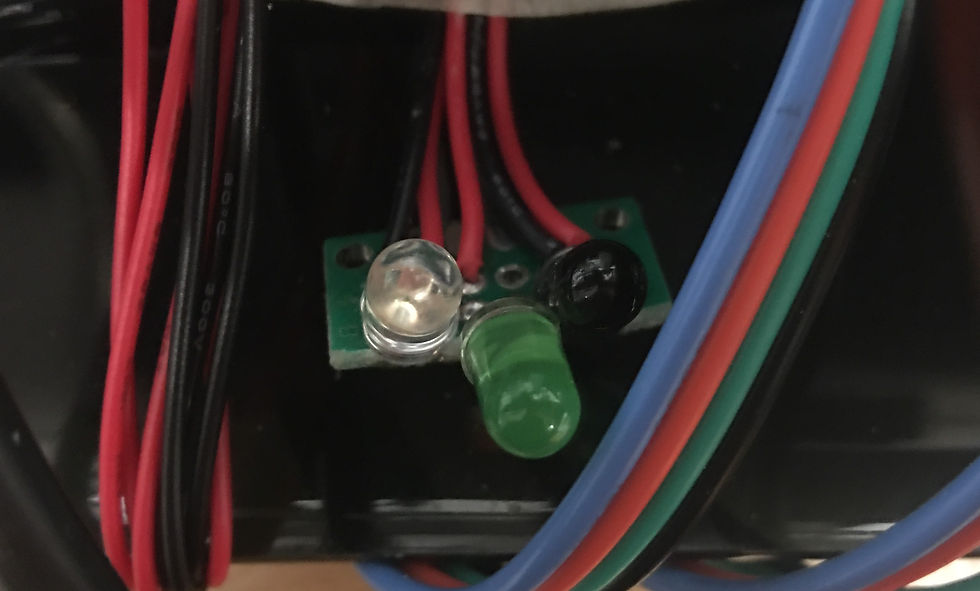
In troubleshooting the IR Proximity Sensor, Daniel determined that the IR LED on window 1 was either wired backward or was burnt out. Ian replaced the IR LED and swapped its direction.

Summary
This week, Ian used Fusion 360 to design a nozzle for the intake fans and employed his friend's help for 3D printing them. The new nozzles should be finished by the end of the day today. Ian also fixed the wiring for one of the fans and replaced an IR LED.

Comments